How to Use Painted Clothespins for Rustic and Modern Home Wall Art
If you’re looking for an affordable, easy, and creative way to enhance your home décor, painted clothespins might just be the perfect solution! Whether you prefer rustic charm or a more contemporary, minimalist style, clothespins can be transformed into beautiful wall art to add character and personality to your space. This versatile craft project allows you to create unique pieces of art while giving a personal touch to your home. In this article, we’ll explore how to use painted clothespins to create both rustic and modern wall art that will impress your guests and elevate your living space.
Gather Your Materials
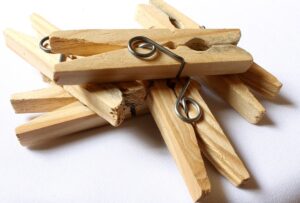 According to Home Services Marketing, before you begin crafting, gather all the materials you’ll need for the project. The basic supplies include clothespins (wooden ones work best), paint (acrylic or spray paint), a paintbrush or sponges, a hot glue gun, and a canvas or wooden board as your base. For additional decorative elements, consider using stencils, washi tape, or decorative paper. The beauty of this project is that it’s customizable, so feel free to get creative with your color choices and design ideas.
Choose Your Style: Rustic or Modern
The first step in creating your painted clothespin wall art is to decide on the style that best complements your home décor. Do you prefer the warm, natural feel of rustic design, or are you drawn to the sleek, minimalist vibe of modern aesthetics? Here’s how to approach each style:
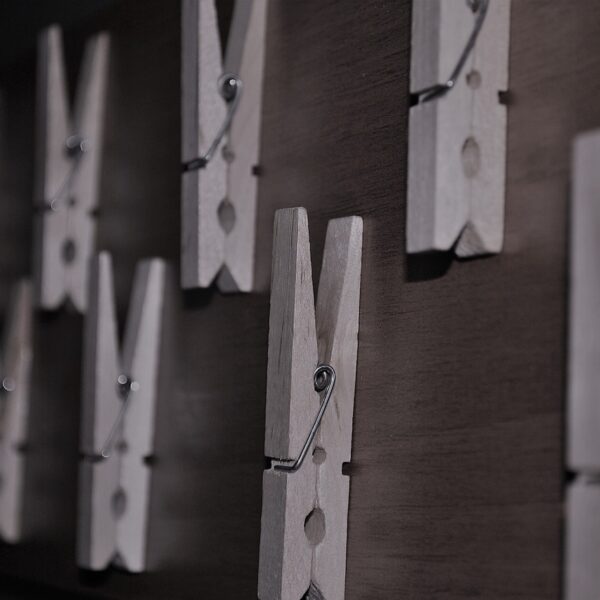
- Rustic Style: For a rustic look, use earthy tones such as browns, grays, and whites. You can either leave the clothespins in their natural wood state or lightly sand them to create a distressed effect. Consider pairing the clothespins with a wooden board or canvas with a rough texture to enhance the rustic feel. Adding natural elements like twine, dried flowers, or small branches can complete the design.
- Modern Style: If you’re aiming for a more contemporary, modern look, opt for bold, clean lines and a more minimalist approach. Use bright, solid colors like navy, black, or white for the clothespins, or go for metallic shades like gold or silver for a more elegant touch.
Create Your Design
Once you’ve decided on the style, it’s time to get creative with your design! The great thing about painted clothespins is that you can create almost any pattern or shape you like. Here are a few ideas to get you started:
- Geometric Shapes: Arrange the clothespins into geometric shapes like triangles, squares, or hexagons. For a modern touch, consider creating a large, symmetrical pattern on a neutral-colored background. If you’re aiming for a more rustic look, try a freeform design, such as irregular shapes and a slightly imperfect pattern.
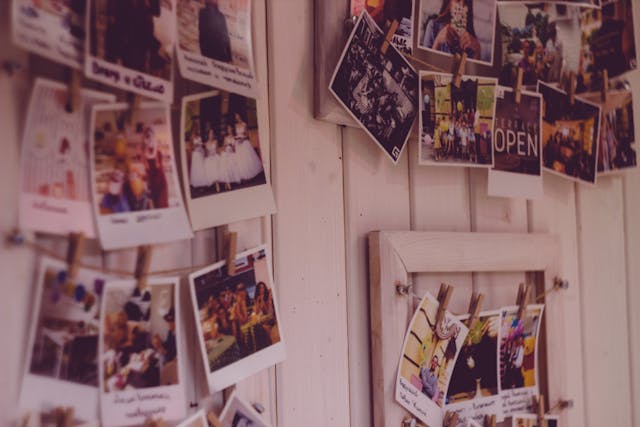
- Gallery Wall Frame: Use clothespins to create a gallery wall by clipping small photos, prints, or postcards to the clothespins. The painted clothespins will serve as decorative frames for your favorite memories. To make this even more personal, consider creating a photo collage with a mix of pictures, illustrations, and personal artwork.
- Nature-Inspired Art: For a nature-inspired rustic piece, arrange the clothespins in the shape of a tree, wreath, or flower. You can even use the clothespins to display small pressed flowers or leaves by clipping them in place, adding an earthy element to your art.
Assemble and Mount Your Art
Once you’ve arranged your clothespins in the desired pattern, it’s time to assemble the art. Use a hot glue gun to attach the clothespins to your canvas, wooden board, or any other sturdy surface you’ve chosen. Be sure to press down on each clothespin firmly to ensure that they stay in place. If you’re creating a gallery wall, make sure the clothespins are evenly spaced and securely fastened. For a modern design, consider using clean, straight lines, while for a rustic piece, feel free to embrace a more relaxed, imperfect arrangement.
Display Your Art With Pride
Their simple yet artistic nature …
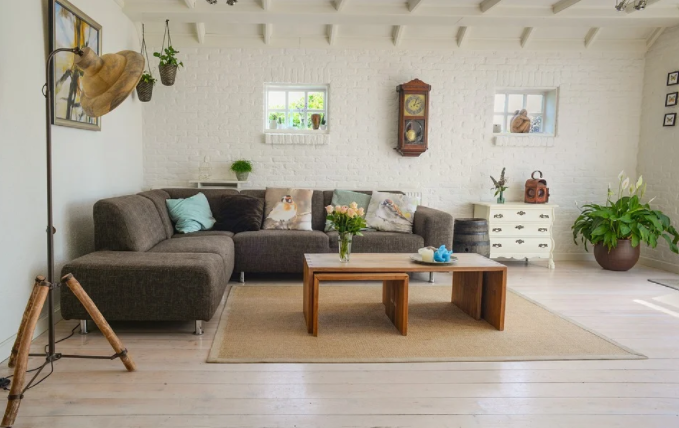 One of the most common mistakes people make when decorating their homes is buying too big or too small furniture for the space. It is important to take measurements of your rooms before you go furniture shopping to know what will fit and what won’t. Don’t be afraid to rearrange your furniture to find the perfect layout for your space.